
Last Minute Christmas Gift Idea: Airdrop a Personal CryptoPunk


Looking for a unique and cool Christmas present? I am sharing a tutorial to gift your loved ones a personally created CryptoPunk. The best thing is it requires no coding skills is completely free and can be done in 4 simple steps.
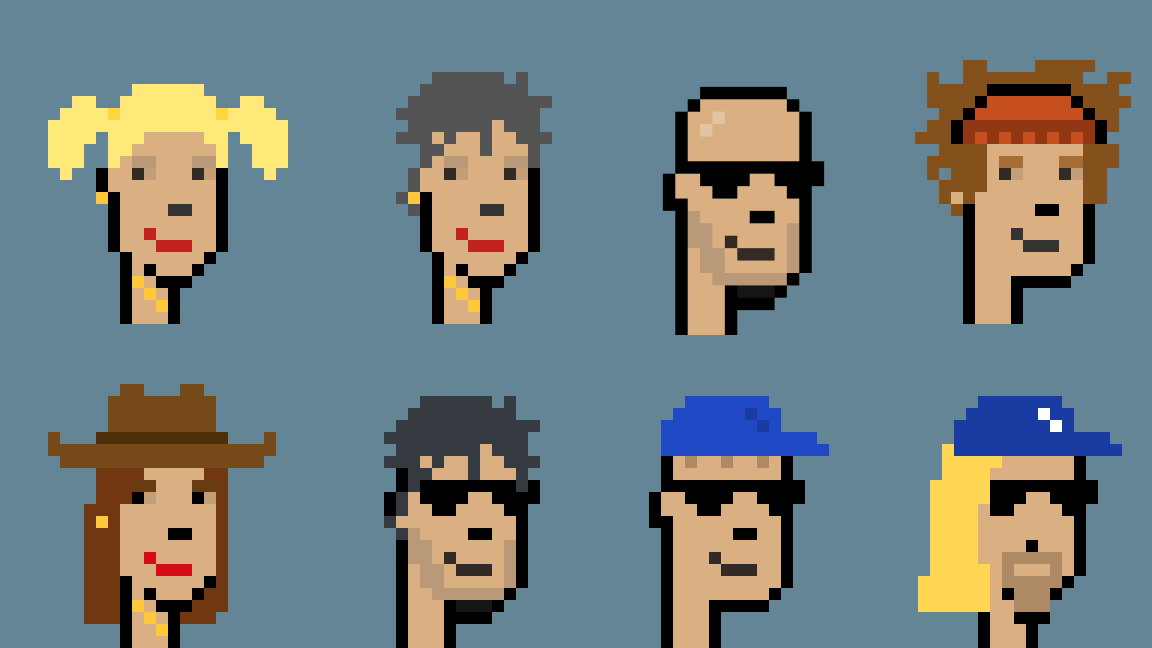
Step 1: Create Your Own Unique Crypto Punk
Let’s start by creating a personalised unique NFT inspired by the famous CryptoPunks from Larva Labs Studio.
Luckily designing your own unique CryptoPunk gets a lot easier with this really cool project created by JΞLLO.


If you do not have a free Figma account yet, go ahead and create one before duplicating the project.

Once you have the project duplicated you can scroll through the very well-written how-to guide. In the beginning, I was also a bit confused since I never used Figma before so I will give you a quick start.
Editing Mode
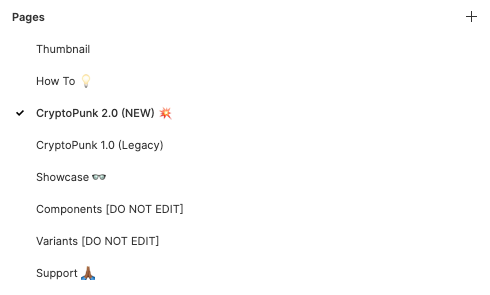
To start editing in the left panel, select the Crypto Punk 2.0 (New) 💥
Next, you can scroll down to change either the colors or edit different attributes of a CryptoPunk.
Changing Attributes
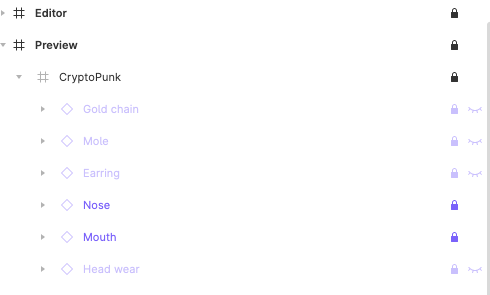
In order to change attributes, we need to first collapse the Preview and then we can start hiding or showing different attributes by clicking the icon that looks like an eye right next to the lock icon.
One of the most important settings you will have to make is choosing from the two available face choices all the way to the bottom of the page:
Depending on what Face you choose some items or attributes will be compatible while others will not be.
Selecting Variants of Certain Attributes
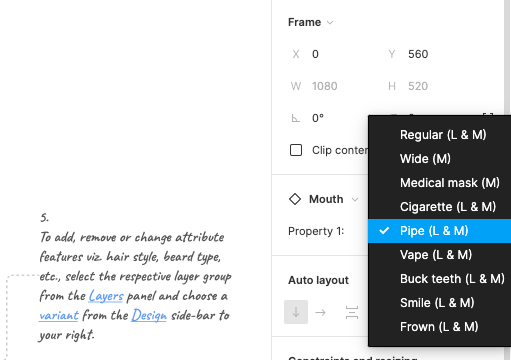
For every item, under Preview we can select different variants of each item. First, select the item, for example, Mouth by clicking on it that it is highlighted in a light blue and then in the right panel look for the identical name to select a variant:
Changing Colors
Once you are happy with the outline of your personal CryptoPunk you can start adjusting the colors by first collapsing Editor to see the Content. Then collapse one more time to be able to collapse the CURRENT COLOR to be able to select all the color variants:
C 08 -> Background ColorC 07 -> Mouth ColorC 06 -> Nose ColorC 05 -> Eyebrow ColorC 04 -> Eye ColorC 03 -> Skin ColorC 02 -> Facial Hair ColorC 01 -> Hair Color
To change a color select the target C value by clicking on it and fight in the right panel the Section colors setting, and double click in the color field below to start changing the color:
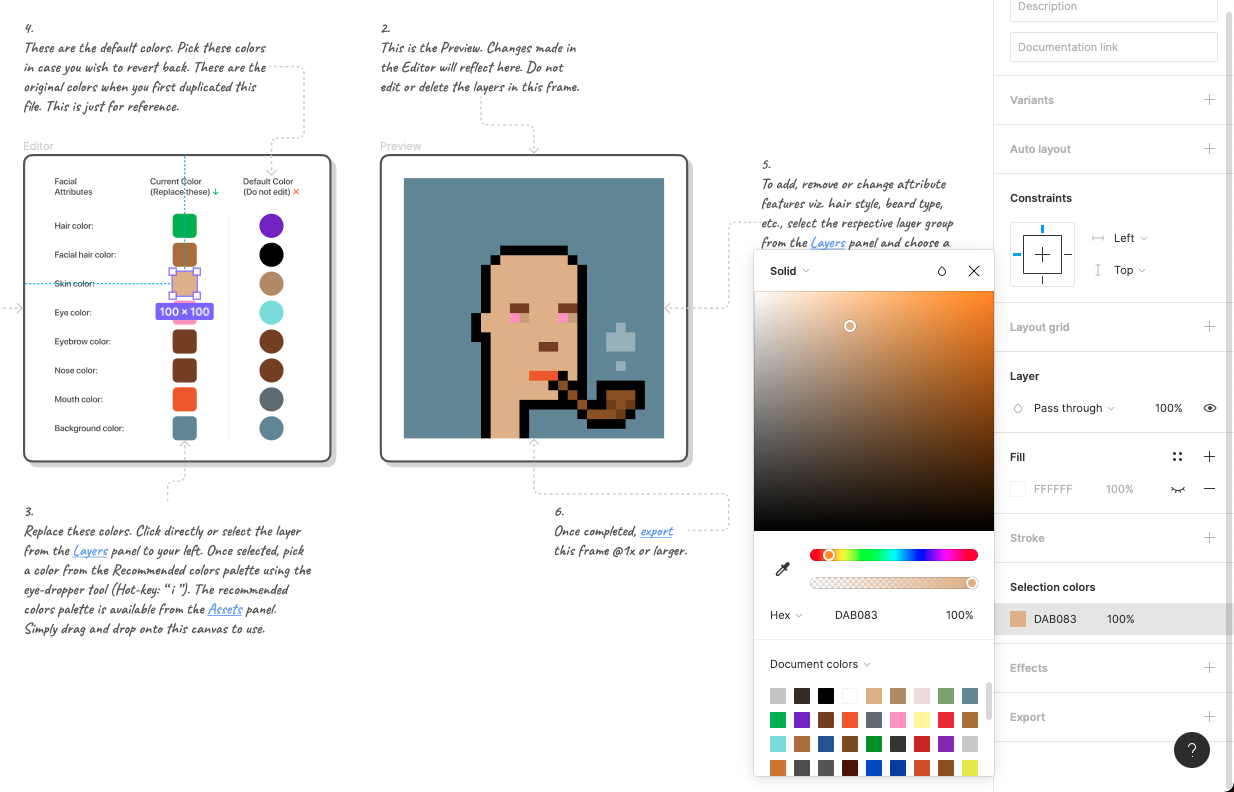
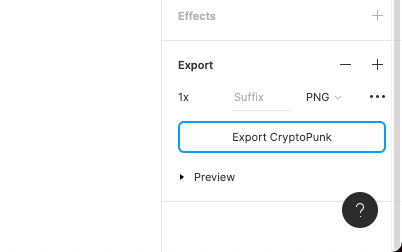
Exporting To .png
Once you are happy with your result, in the left sidebar under # Preview select the # CryptoPunk layer, by clicking on it so that it is highlighted in light blue.
Next look in the right sidebar for the Export heading and the Export CryptoPunk button allowing you to save your result as a PNG.
Step 2: Creating a Burner Wallet
In order to be able to store the NFT, we need to create a wallet. Luckily thanks to @austingriffith and the buidlguidl creators, this is as easy as going to https://punkwallet.io/.
Once you click on the link the website generates for you a burner wallet that you can use to mint your NFT:
A quick web wallet for demonstrating the identity of keypairs and sending around ETH.
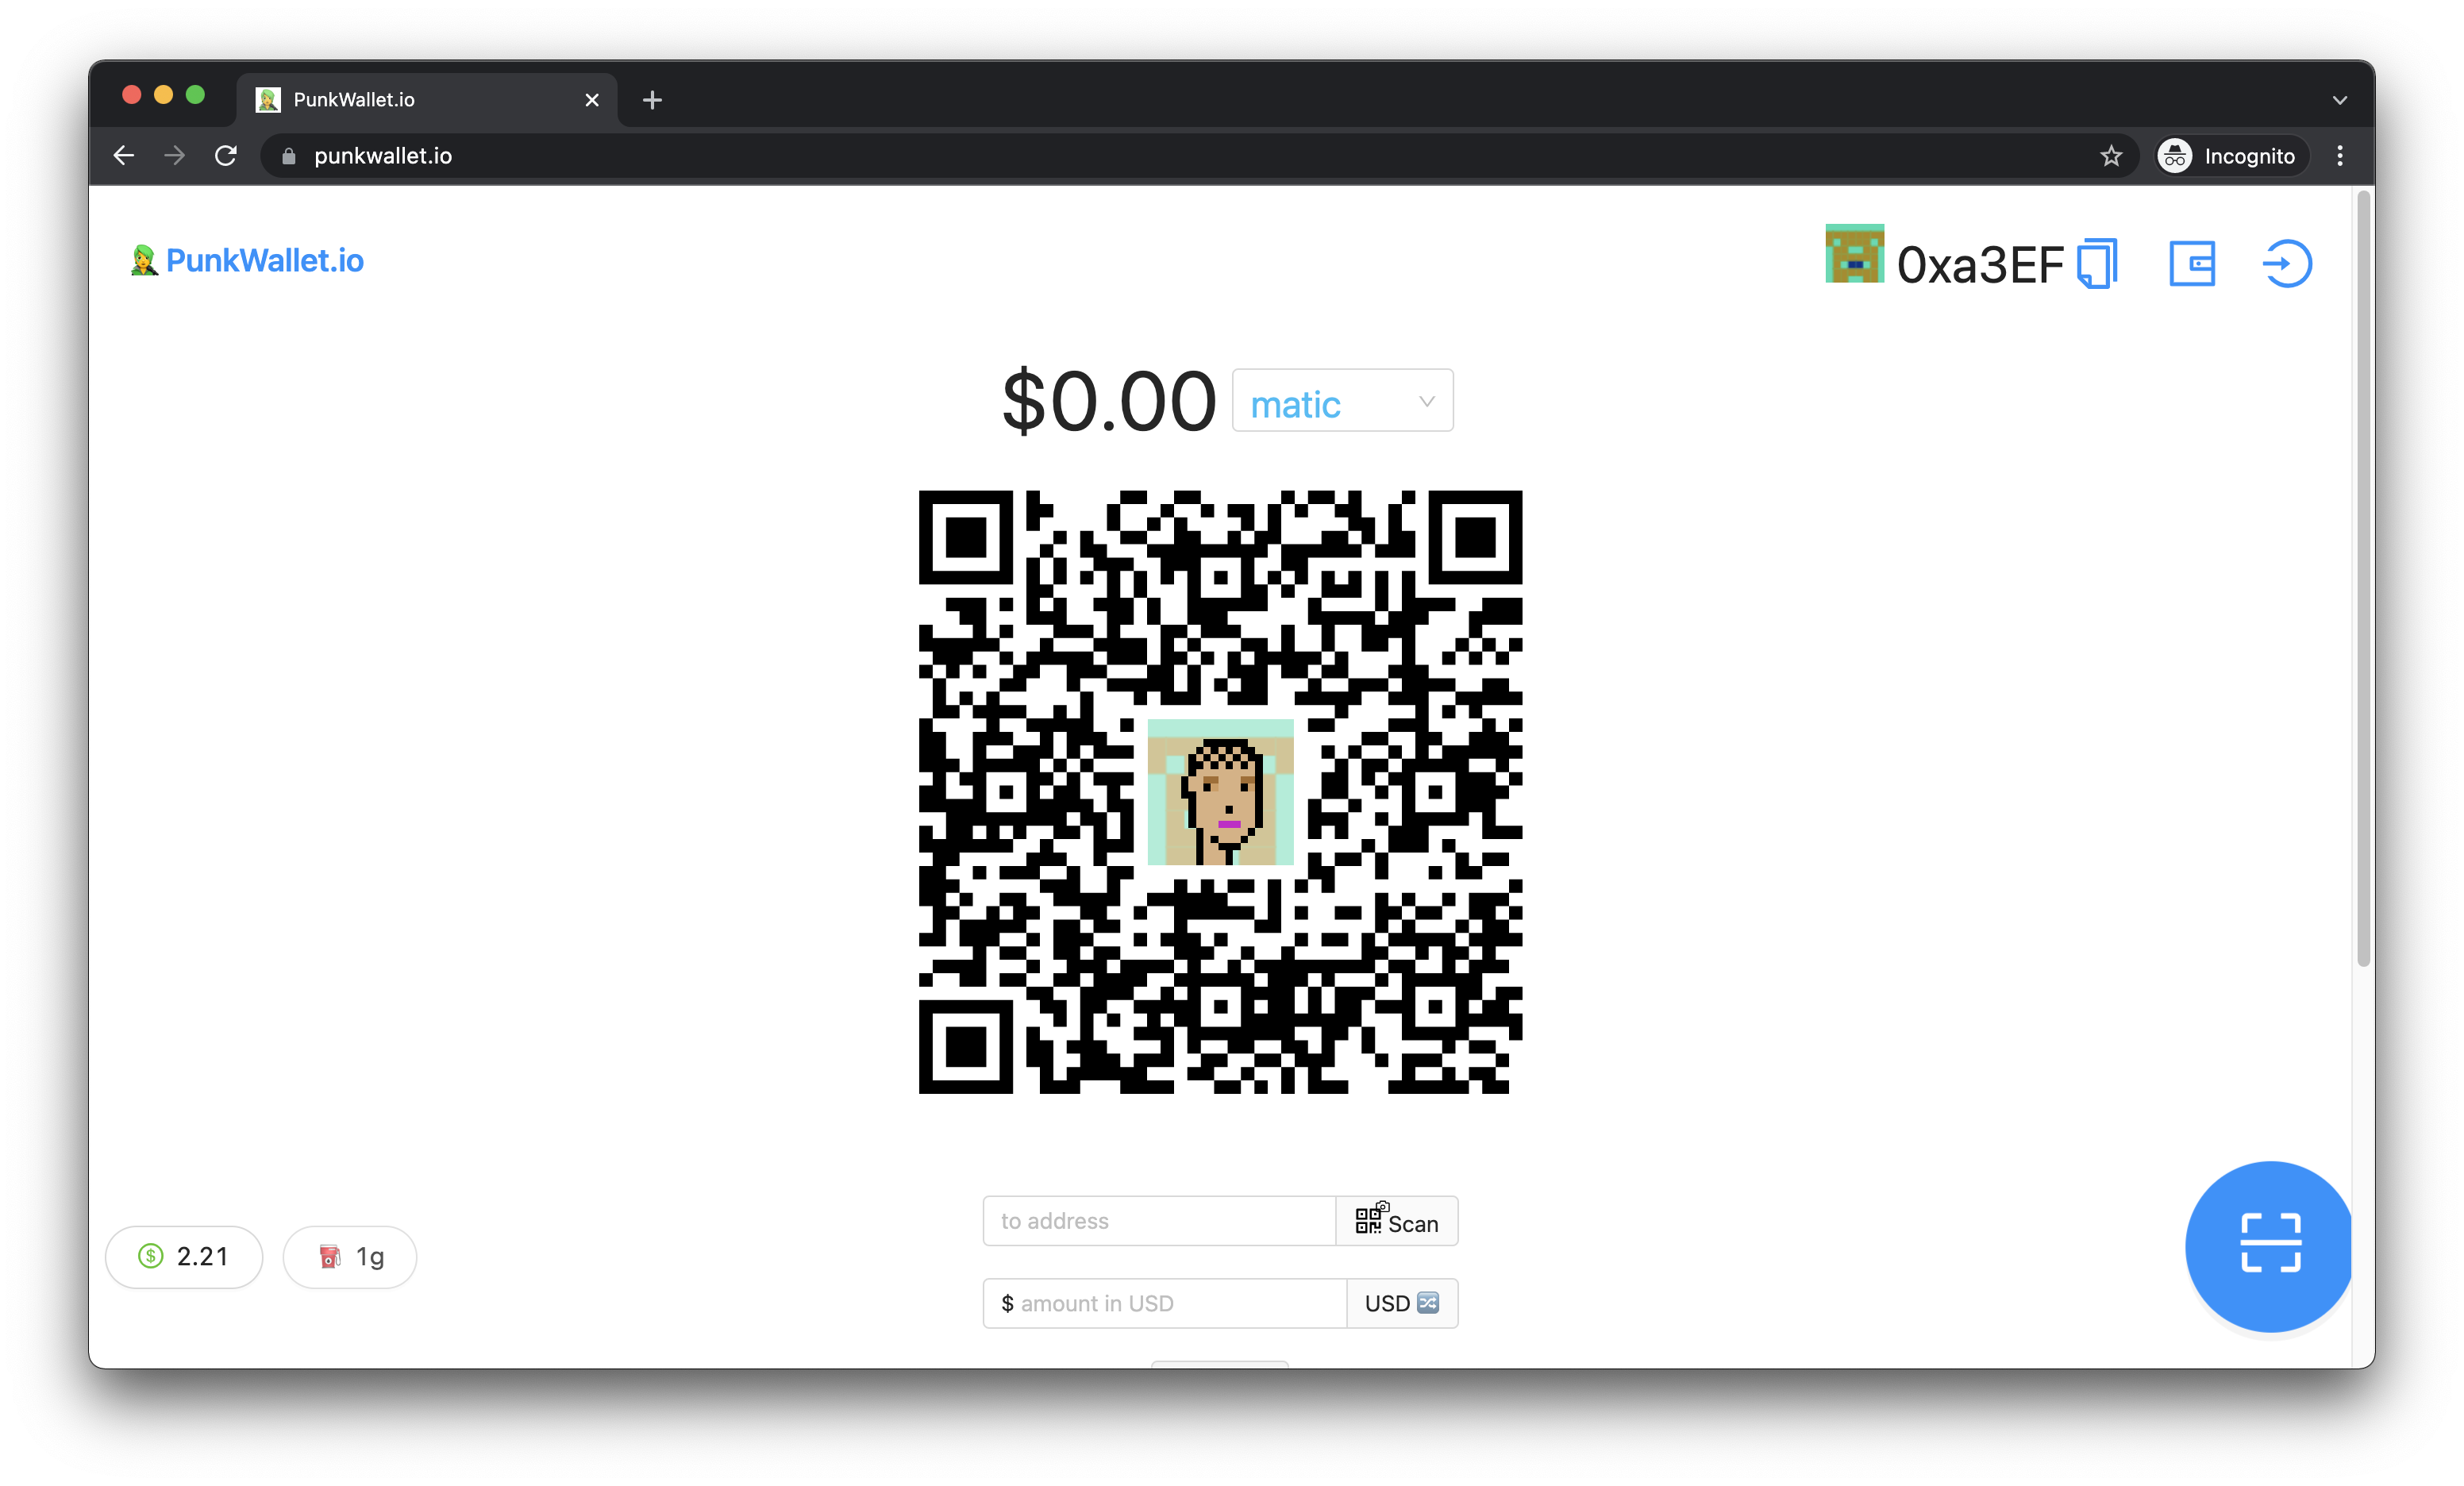
Next, we need to save the Private Key and the Wallet Address so that we can import the account to Metamask. If you do not have a Metamask wallet yet, follow this video to get started.
Exposing Our PunkWallet Private Key
In order to be able to min the NFT we will need to import out PunkWallet to Metamask by accessing the Private Key from our PunkWallet:
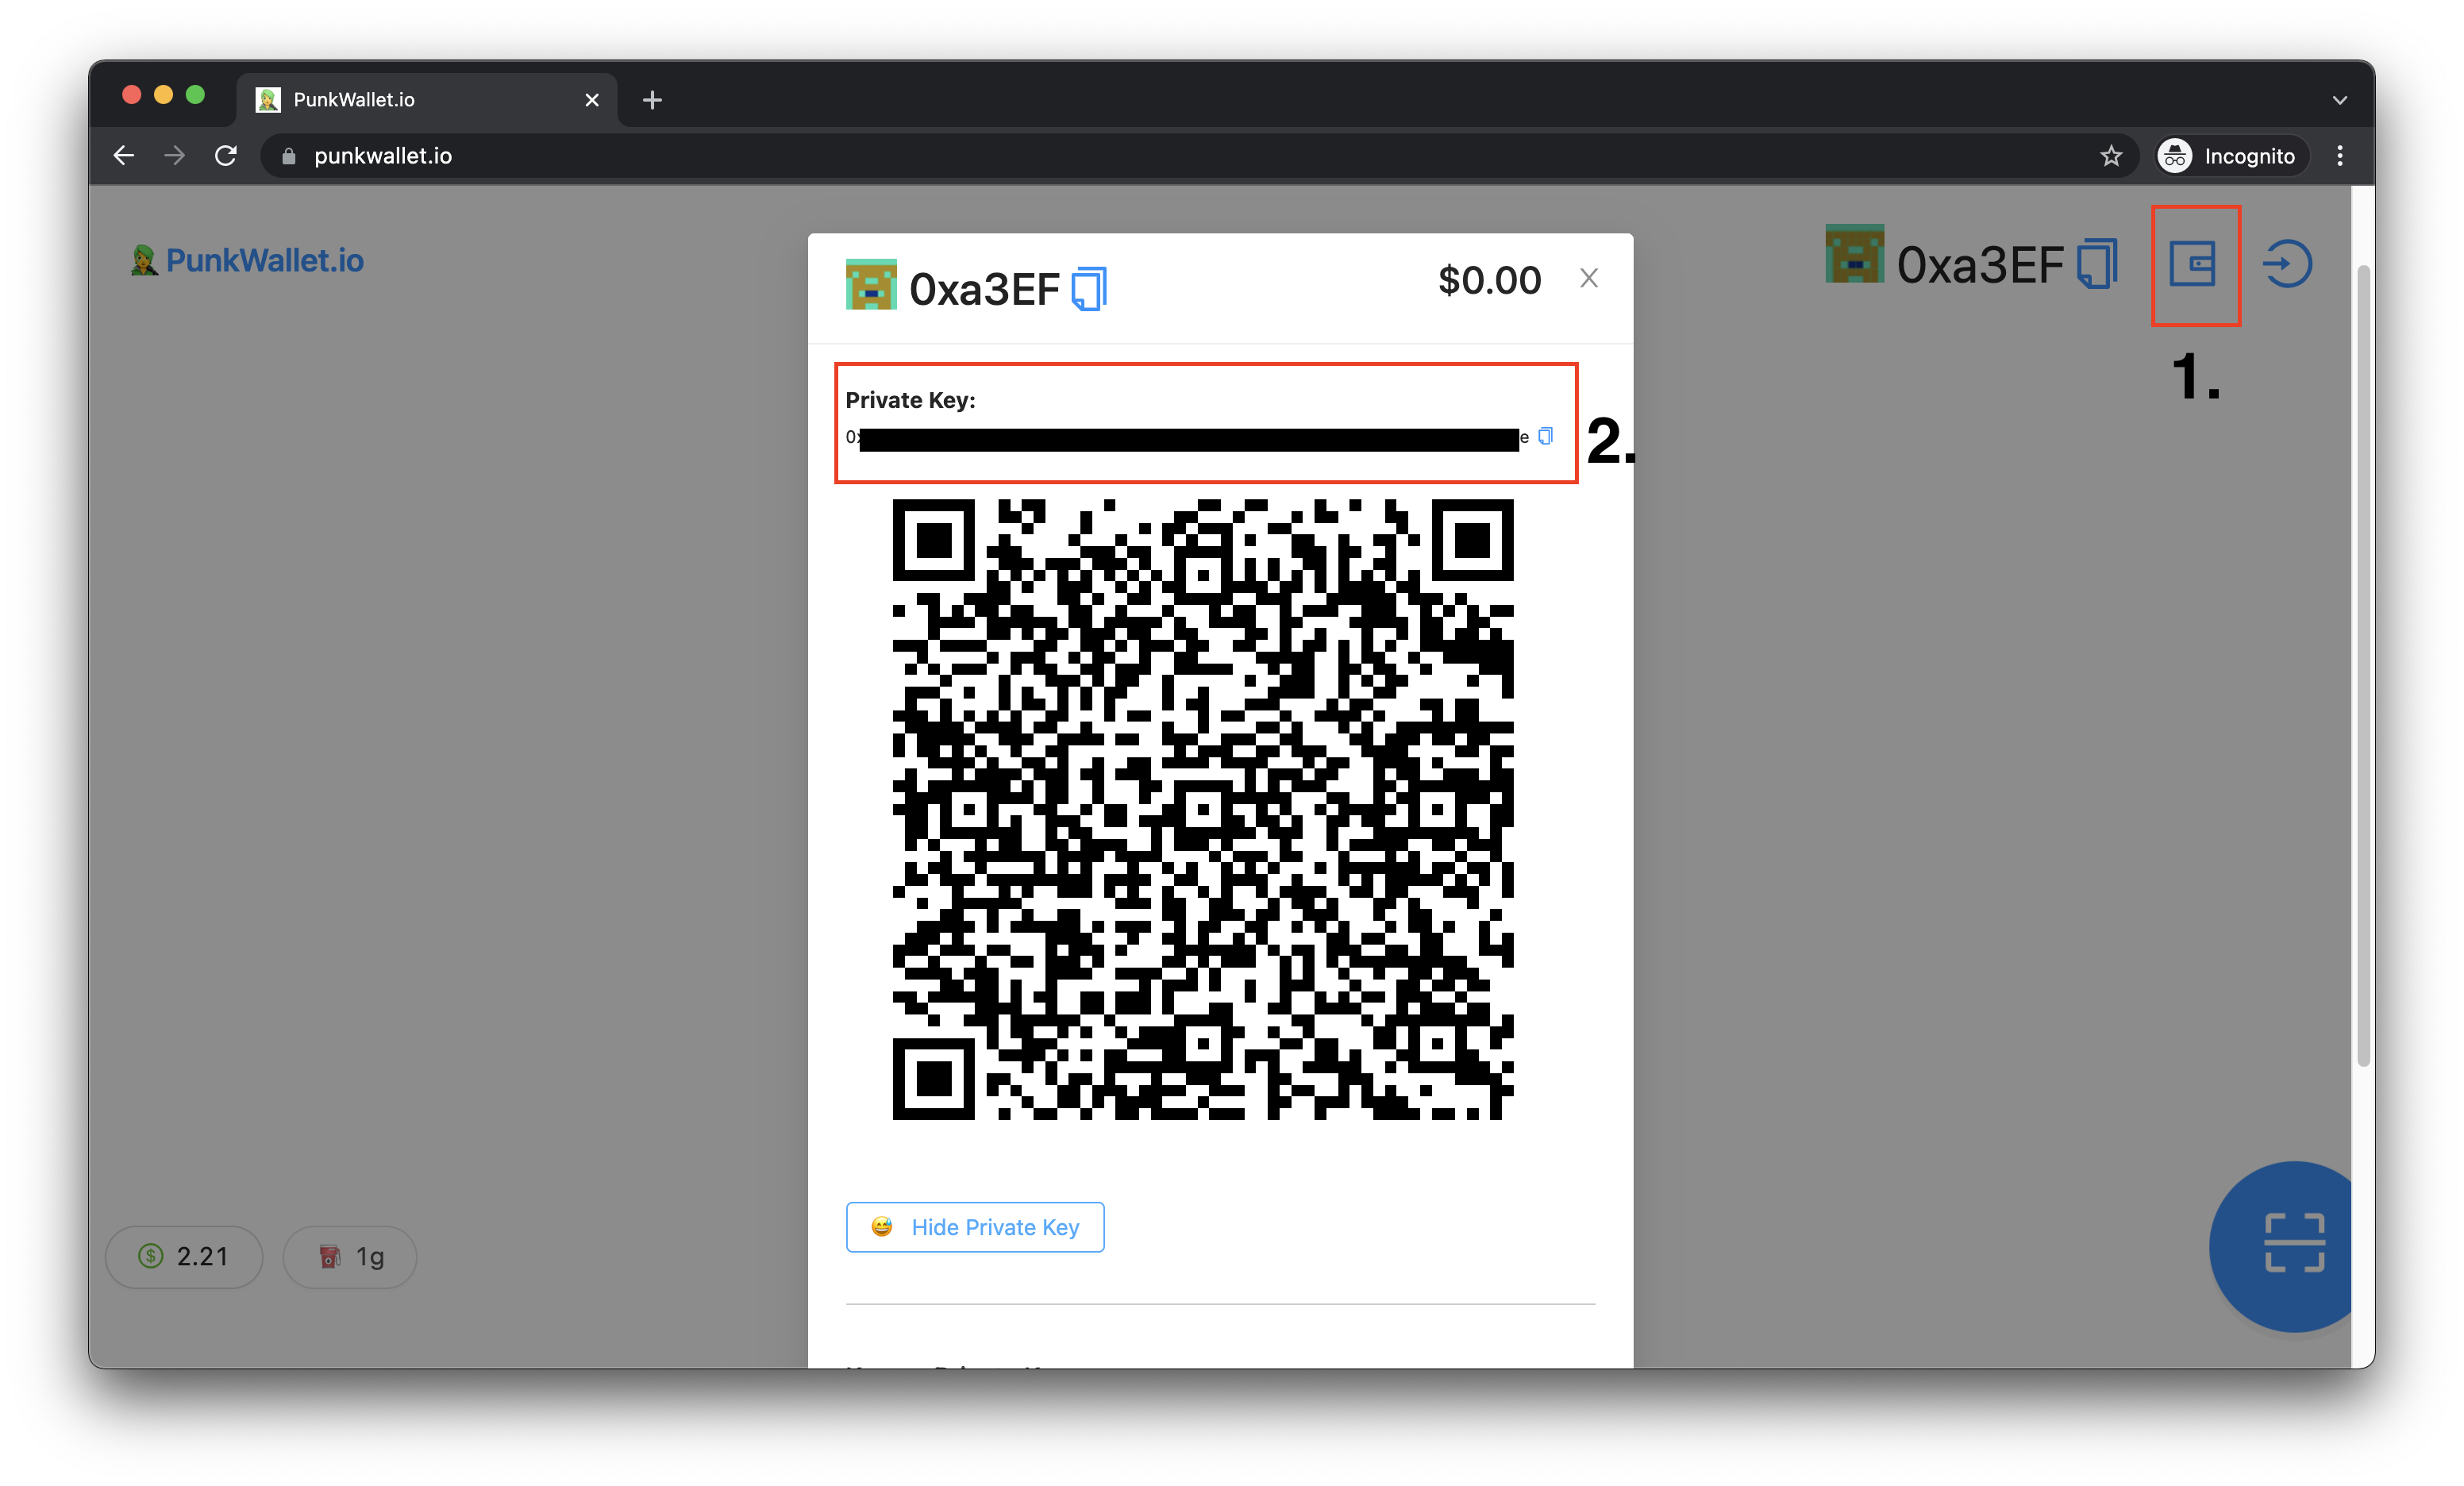
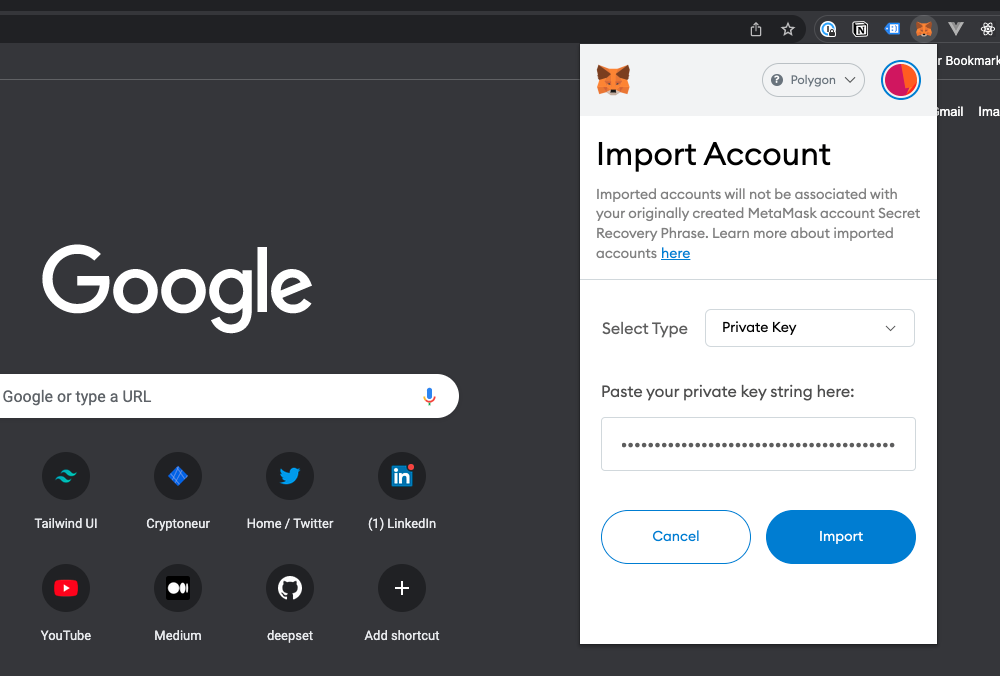
Importing our PunkWallet to MetaMask
Now we can click on the round-shaped circle in the Metamask Google Chrome Extension and click on the Import Account field. Follow the instructions and paste your Private Key from above into the MetaMask input field:
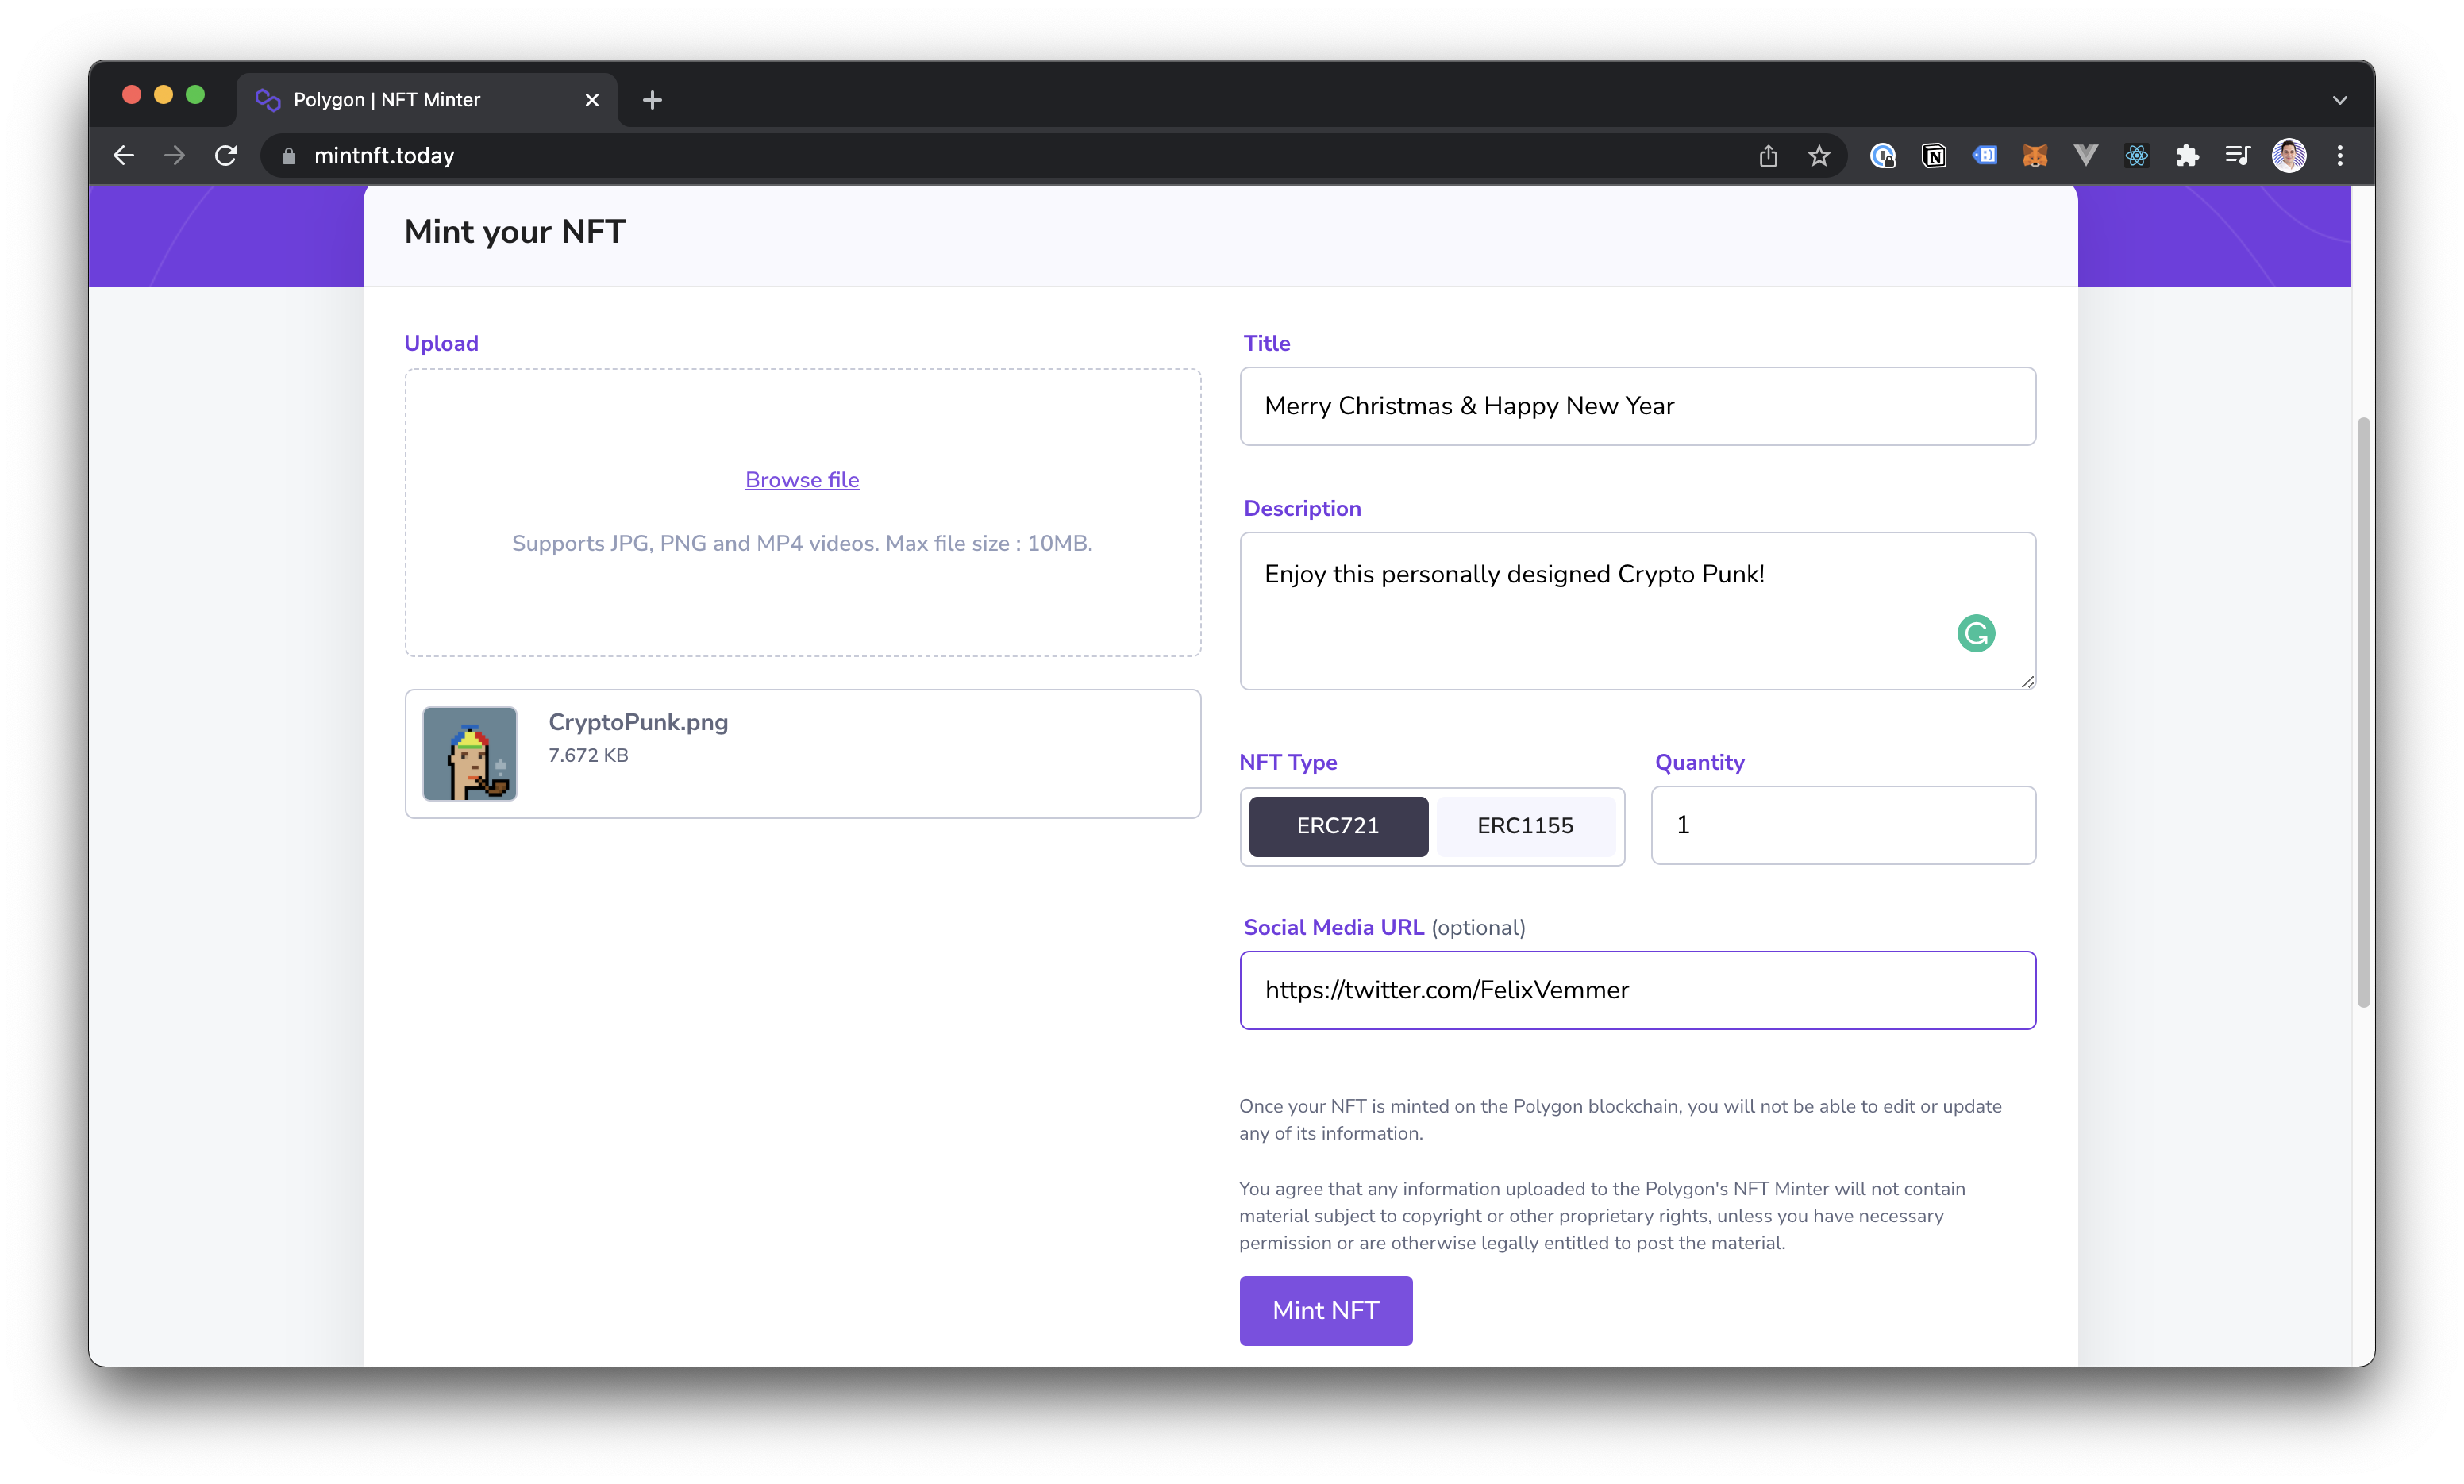
Step 3: Minting our NFT on Polygon
Now the most exciting part comes. Polygon created a super cool online tool that allows us to mint an NFT for free: https://mintnft.today/
Minting is super easy, just follow the intuitive UI by completing the following steps:
Once you have successfully minted your NFT you can see your Transaction on polygonscan by following the link.
Step 4: Start Airdropping/Shipping your NFT
Let’s start preparing a nice email and send all the info to our gift recipient. In order to make it as easy as possible for the receiver to enjoy their NFT, I drafted the following email template that you can adapt. You will only need to fill in and provide some links. Before we can do that however there is one more final step.
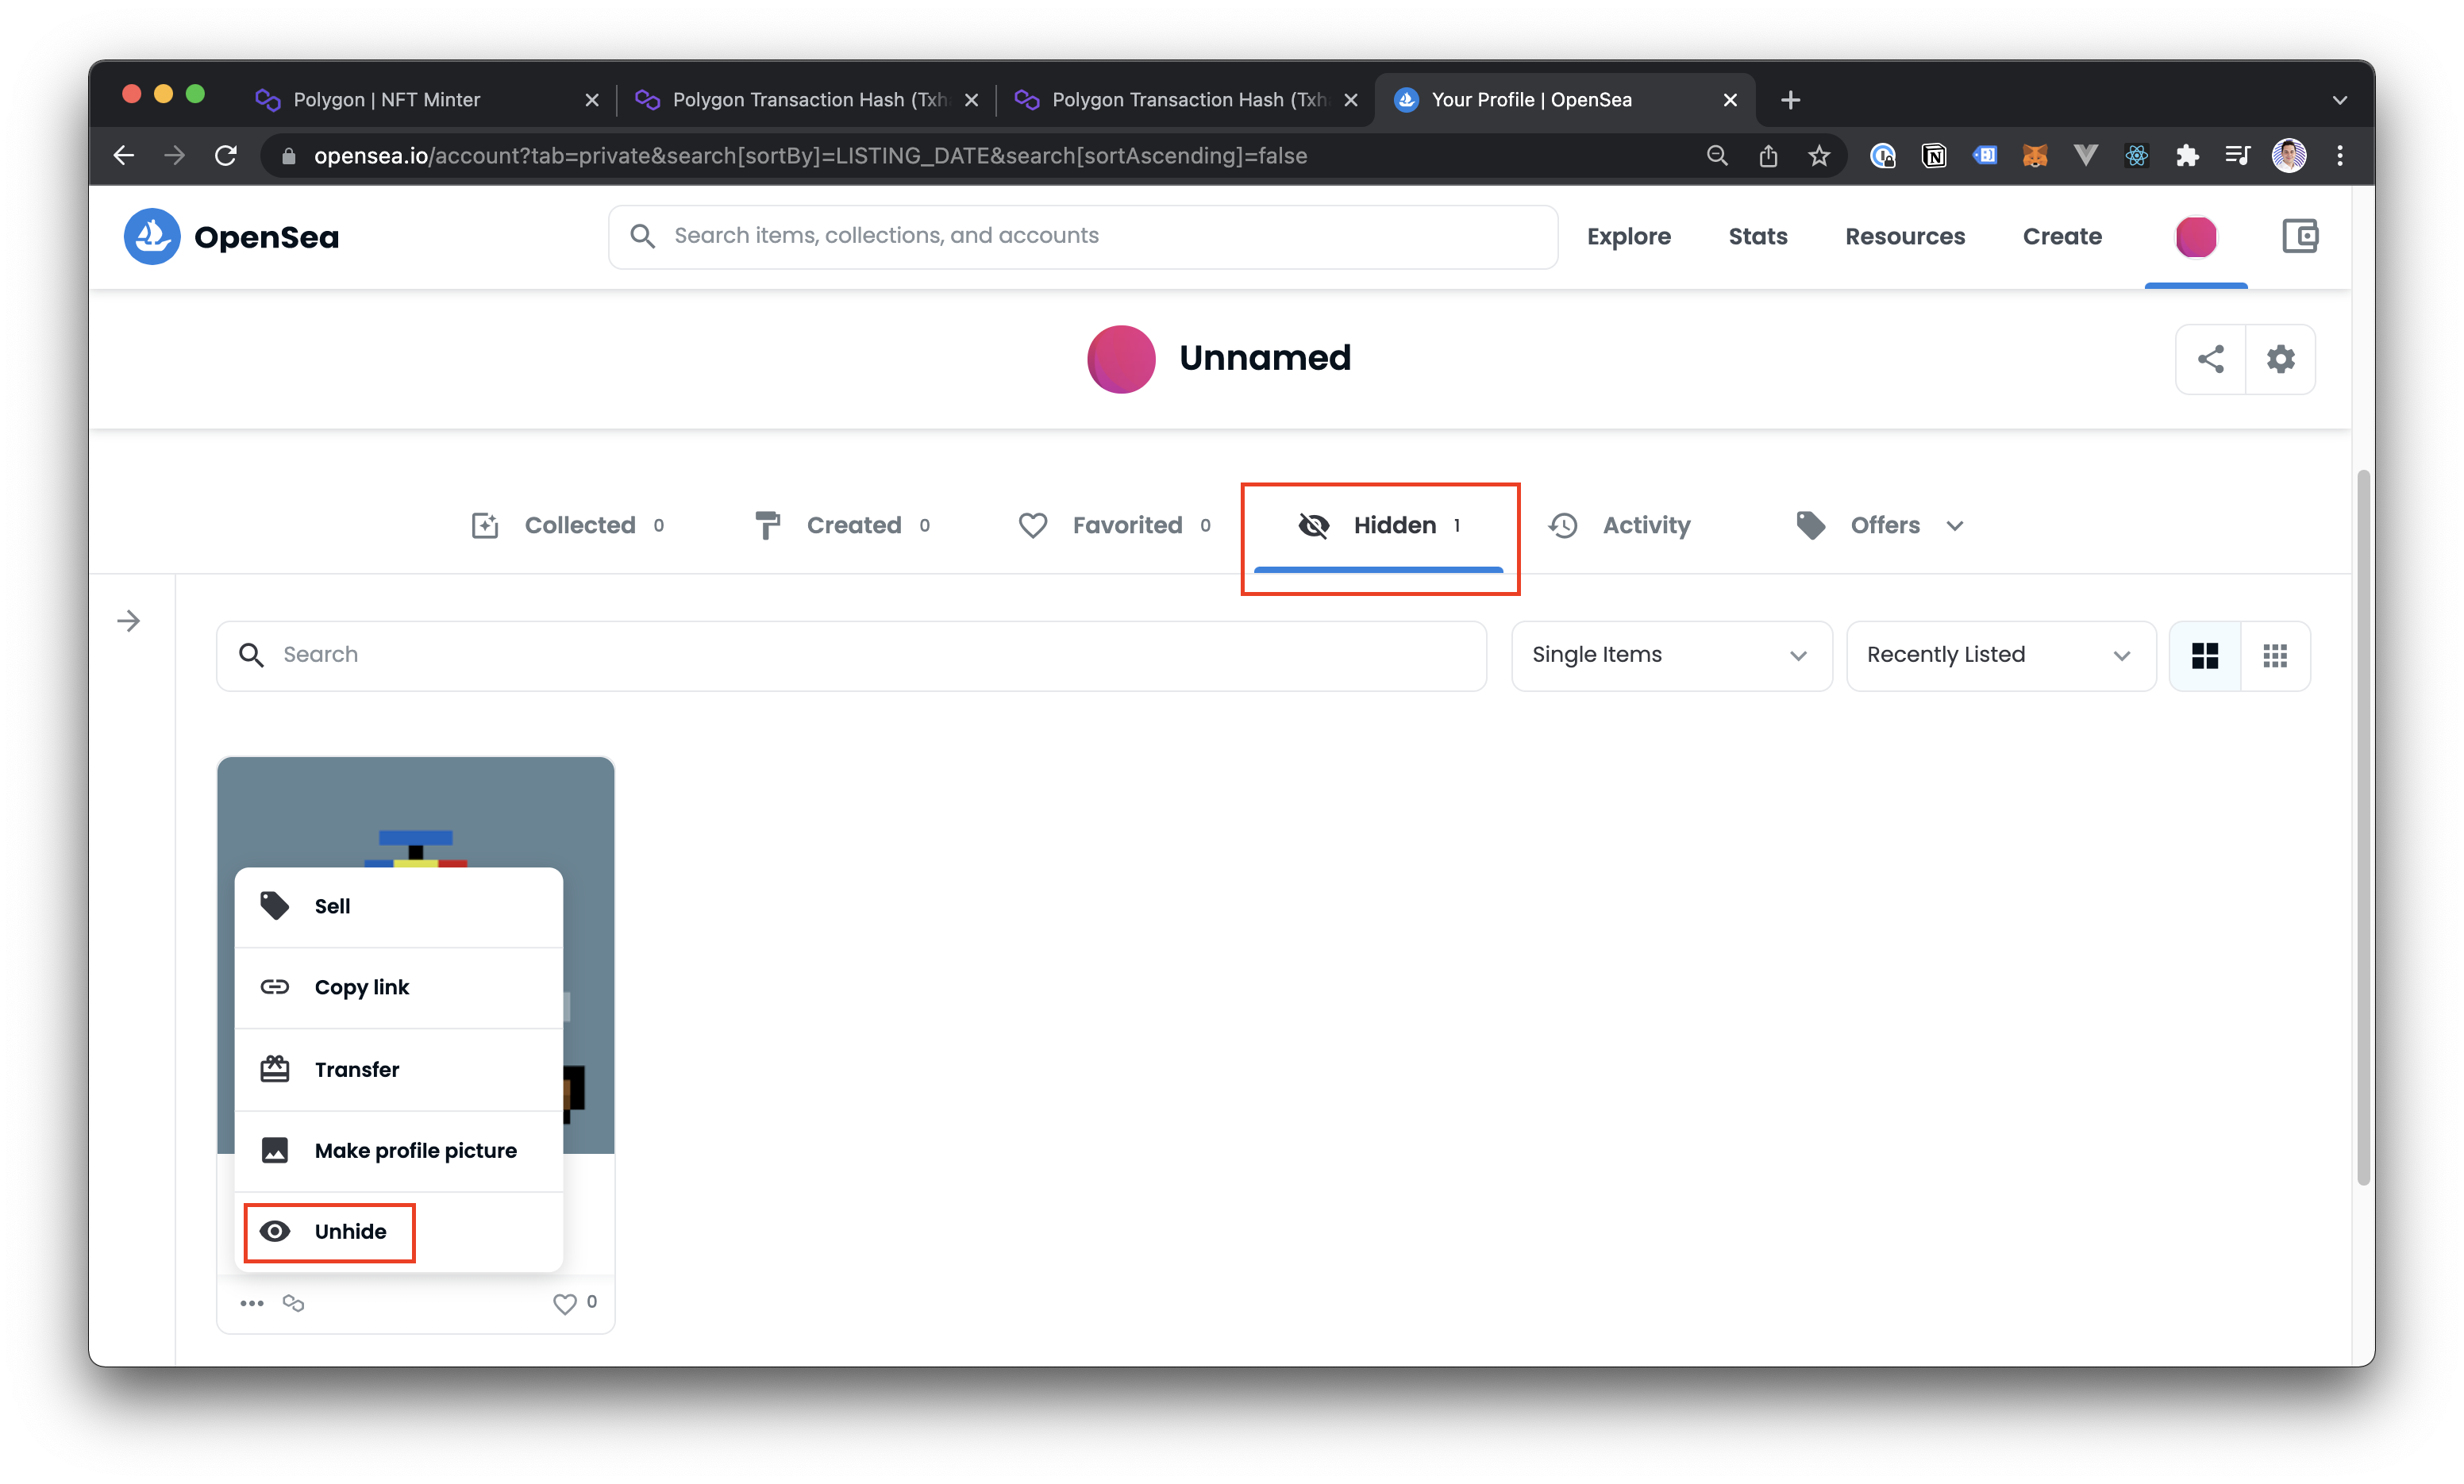
Unhiding our NFT on Open Sea
Go to OpenSea sign in with our PunkWallet via Metamask and make the NFT unhidden. By going to your Profile then navigating to the Hidden Items and going to the settings to Unhide your NFT.
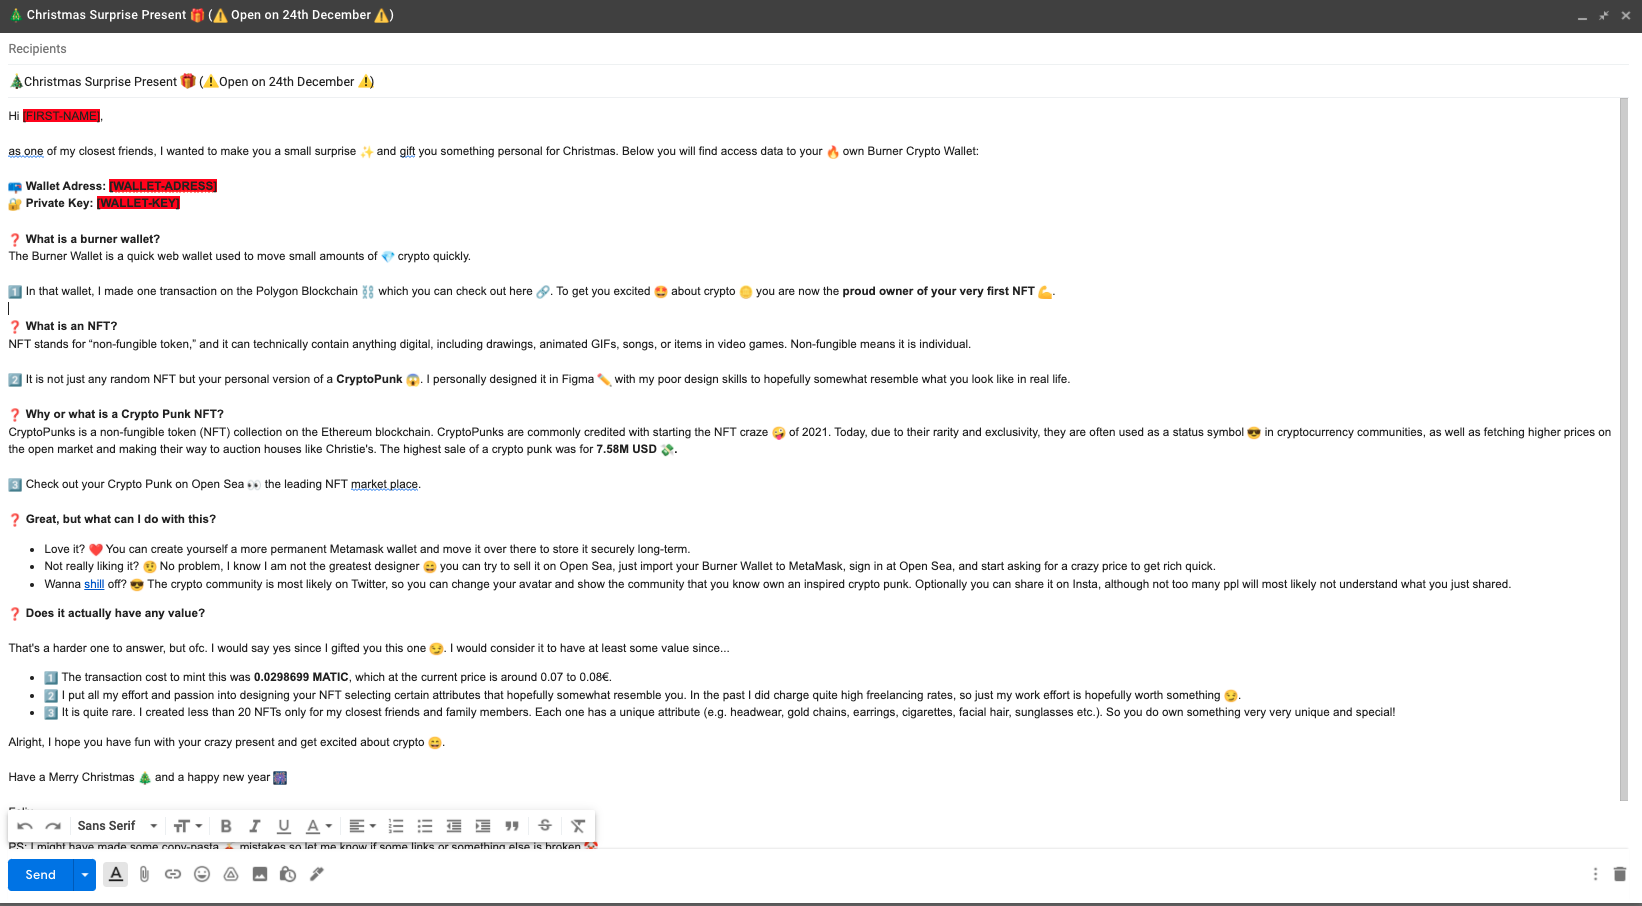
Gifting your NFT via Email
Below is a quick template I used to gift NFTs to my family and friends. Feel free to take some inspiration from there.
Congratulations 🥳
Congrats you just created a super cool unique gift. Here again a quick summary of all the awesome things we have accomplished: